Overview Of Chat
The Chat page is an optional section for users to engage in realtime 2-way SMS text message with their contacts.
Navigation Basics
Choose to view chats in Open Status, Unread Status, or additional View options under All Contacts (listed from left to right)

Select the new chat button to initialize a new chat with a contact
Open Chats - Are any chats that have not been closed. Users can choose to close old chat conversations or leave them in open status. Open chats can also be filtered by those chats assigned to the current user or other users.
Unread chats - Are all chats which a user hasn’t selected yet. The number of unread chats is also indicated by the red/white number next to the chat header.
All Contacts - Lists all contacts regardless of if they have received chats or not. Use the filter to includes all closed Chats or all contacts in a certain Group.
Search by the phone number or name of a contact to to bring up their chat history
Change the order of the Chats to The newest, oldest, by name and (if all contacts) Appointment Date and Date of Birth.
Users Chat Settings (gear icon)
The Basics of Chat
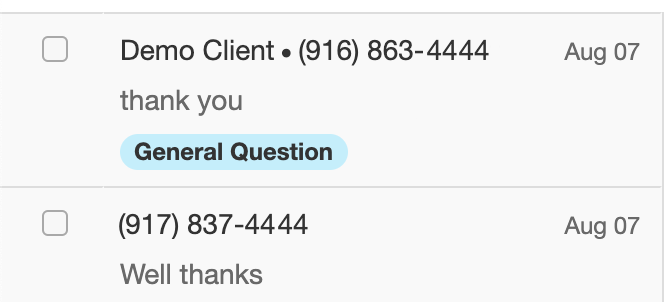
The most recent messages appear on the top and unread messages are bolded. Selecting a message marks it as read. Closing a chat will take it away from the Open screen but it can be viewed under Closed Chats or All Contacts.
Checkboxes can be selected to the left of chats to perform group actions on chats - with an option to select all. Group actions are to mark chat(s) as Closed, Open, Read, Unread and Assign to User.
After selecting a Chat conversation, start typing your message and press enter/return to send your SMS messages. You can optionally press the Send, Send + Close or Close button.
Chat Settings section
A) The settings section for that specific contact including Translation settings, Subject or User assignment
B) Contact attributes such as name, clinic and appointment date

Find a Contact or Chat
To find a contact or previous chat conversation, you can scroll down from the previous chat conversations. If you can't find you contact in your recent chats, use the search bar in the chat page header. You can search by either phone number or name (first then last name). If you can't find a contact, you can search in the contacts page that you have the right name or phone number, and possibly add that contact if needed. It's also possible that if another user has access to your contacts, they have assigned this chat to themselves. You can browse these assigned chats from the filter drop down in the chat header.
Send A New Message
There are two different ways you can send a chat message:
A. find your contact by browsing or searching and sending a message
B. Use the New Messages button to initialize a new chat and type in your contact Name or Phone number in the TO box, then adding your message and sending


Use Auto Translations
Auto-translations allow all incoming messages to be auto-translated to the message of your choice, and auto-translate the messages you send to the contact. To enable auto-translations for a contact, select Contact Settings, then check the Auto-Translate switch.
This will auto-translate the conversation based on the their set Language, but you have the option to change this to another language if needed. the User language is defaulted to English, but this can be changed from the Gear icon.
During a translated conversation, you can click on the language links (see screenshots below) beneath the message to view the Translated/Untranslated versions.
ADD Chat Subjects
If enabled by an Administrator in Settings, chat subjects allow users to assign subjects to open chats. Simply select the subject for the chat under Chat Options and the subject will be displayed for that chat until it is closed. This means that after a chat is closed, if the recipient messages back again the chat subject will be cleared
ADD Chat Notes
Sometimes staff may want to leave notes for each other or other staff about their chats. If enabled by the administrator, chat notes allow users to type in a quick note while chatting with a client. Notes will appear in the chat history but will a note icon next to them. To add a note, press the Note tab, add your note and select save.

Enable Notifications
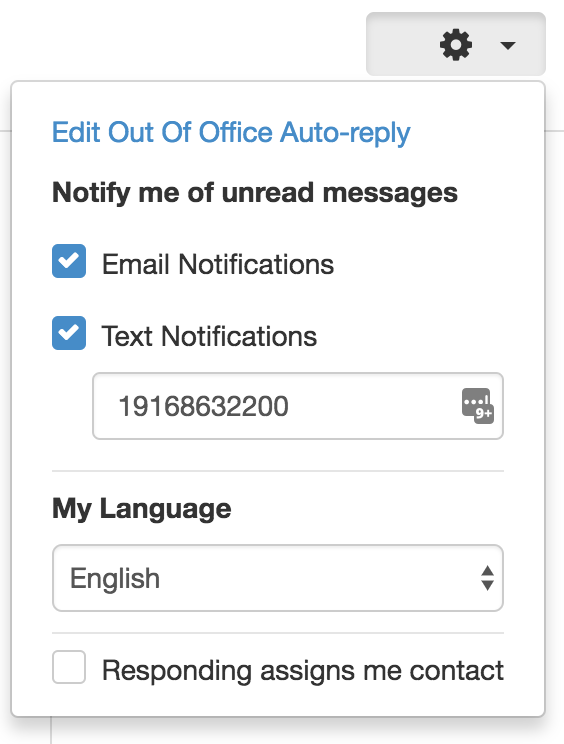
To receive notifications, first select the Gear icon on the upper right. You can choose to receive Email notifications and/or SMS Text notifications by selecting the associated checkbox.
Teletask will check every 30 minutes for new unread messages and send you a (email or SMS text) message including the number of new unread messages and a link to the chat page. By selecting the link and adding your login credentials you'll be able to respond to these conversations.
Out of Office SMS Response

A user can edit their out of office SMS response only if the Admin enables this under Settings --> Texting --> Set Chat Auto-Response --> Set-able by Clinic
Select Edit Out Of Office Auto-reply to add or edit your out of office SMS text response to contacts.If your out of office SMS auto-response is ON, you will will a blue notification header An Out of Office Auto-Response is currently ON.
A. Select the Area (clinic, etc.) you want to set the out of office for
B. Type your auto-response SMS message (up to 160 characters)
C. Select the time ranges when you want this message to be sent, based on the day of the week.
Enable Chat Settings
An Administrator can update Chat options from the Settings page.
-Enable Set Out of Office Auto-Responses to allow your account or specific clinics to set your SMS auto-responses
-Enable Set Chat Notes to allow staff to add notes to their messaging
-Enable Set Chat Template and add chat your template messages. When users begin typing their messages these templates will be suggested as drop-down options.
-Enable Set Chat Subjects and add your subjects so users can assign them to their open chats.

